You can master drywall installation with the right set of tools, guidance, and patience. Whether renovating your home or tackling a new construction project, understanding the basics of installing drywall is essential.
This guide provides step-by-step instructions to help you install drywall like a professional, ensuring your walls are smooth, sturdy, and ready for paint or wallpaper.
Preparing for the Installation
Before starting the installation process, you need to prepare the area. Clear the area of any obstructions, furniture, or wall hangings. Also, measure the area where you want to install the drywall before heading to the store. This ensures that you buy enough drywall sheets and avoid running out during installation.
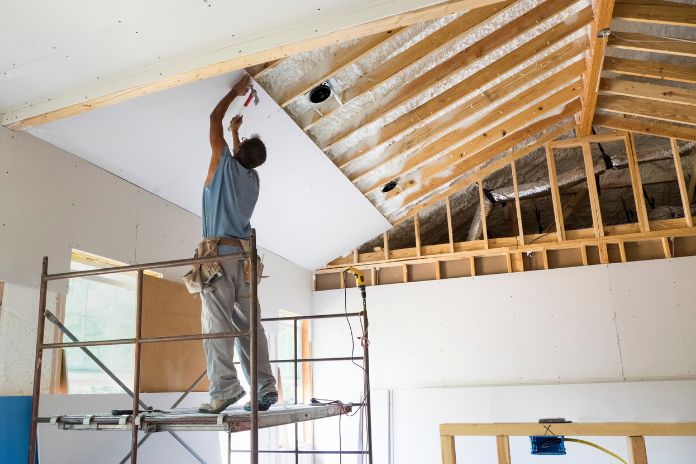
Cutting and Hanging the Drywall
After preparing the area, the next step is to cut and hang the drywall. You can cut the drywall using a utility knife or a saw. Measure the required size of the drywall and mark it using a pencil. Draw a line on the drywall sheet using a straight edge and score along the line. After that, snap the drywall along the line, giving you a clean and precise cut. Now, you can hang the drywall on the studs by placing the drywall sheet and screwing it in place.
Taping and Finishing the Joints
Once you’ve hung all the drywall sheets, the next step is to tape and finish the joints. To do this, start by applying drywall tape over the joints. Knowing the difference between taping and putty knives can be helpful in this step. Use the taping knife to cover the joints with a thin layer of joint compound to completely embed the tape in the compound. After the first layer dries, apply a second coat with a wider putty knife and feather out the edges for a smooth finish.
Sanding and Primer Coating
After finishing and smoothing the drywall surface, you need to sand the surface slightly to eliminate any small lumps or bumps. Use fine-grit sandpaper to sand the surface gently. Once you’ve sanded the surface, wipe it clean with a damp cloth and let it dry before applying a primer coat. A primer coat helps to even out any minor imperfections in the surface of the drywall before you paint.
Painting the Surface
Finally, you can paint the surface using a roller or a brush. When painting, use even strokes and cover the entire surface. You should use at least two coats of paint to get a professional finish. Wait several hours between each coat to allow the paint to dry completely.
With little effort and attention to detail, you can install drywall like a seasoned professional. Follow these steps and have a perfectly smooth and seamless wall. Remember to take your time and be patient—this is a crucial step in creating the perfect finish for your walls.